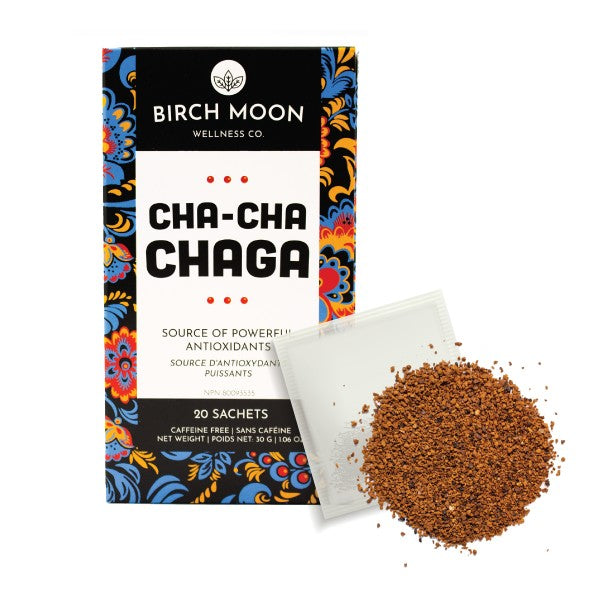
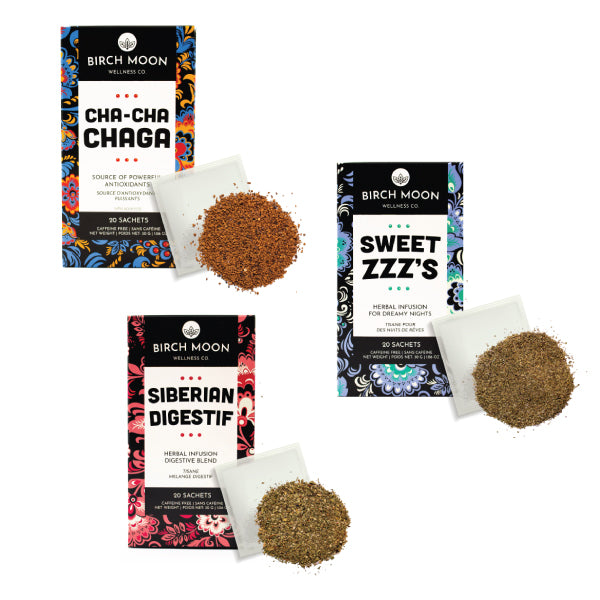
We've all fallen in love with the benefits of the chaga mushroom! This powerful fungus is a nutrient dense food that is packed with beta gluten, magnesium, calcium and more. Chaga mushroom is also known as a superfood for it's high count of antioxidants. If you are like us, you may love trying new chaga drink recipes to try at home or with friends.
This month we are bringing you our love for chaga and kombucha. Kombucha is a drink that is brewed with black or green tea in which we add strains of bacteria, yeast and sugar. The kombucha mixture is left to ferment for 7 to 10 days and sometimes more at room temperature.
A large amount of bacteria grows in this mixture including lactic-acide bacteria and some probiotics. The small layer of "tea fungus" that grows on it's surface is often called "scoby".
Drinking and eating food that are rich in probiotics may help with improving overall gut health. When the kombucha mixture is sitting and fermenting it creates acetic acid which research suggests antimicrobial properties.
Here's what you'll need to brew your own chaga kombucha drink.
- 4 litre glass jar
- breathable cloth to cover the jar and an elastic
- 2 mesh strainer for your loose leaf tea and chaga powder
- 2 cups starter tea from last batch of kombucha or store-bought kombucha (unpasteurized, neutral-flavored)
- 3/4 cup of organic cane sugar
- organic black loose leaf tea
- Cha Cha Chaga Mushroom powder
- fruits such as blueberries, raspberries, strawberries, mangos, etc
- herbs such as mint or lavender
- glass bottles for the 2nd fermentation (we like swing top bottles)


If you are looking to pick up a kit we highly recommend visiting our friends Artizen Kombucha to pick up their DIY Kombucha Kit. They also cary have our popular Cha Cha Chaga mushroom tea at their Perth, ON shop, North Folk Cafe.
Start by boiling 4 cups of water in your kettle. While the water is heating up, thoroughly clean your glass jar and rinse well making sure not to leave any soap residue. By this time your 4 cups of water should be boiling.
Pour those 4 cups of boiling water into your large glass jar and steep 2 tbsp. of black loose leaf tea along with 2 tbsp. of Cha Cha Chaga Mushroom powder for 15 minutes in your two fine mesh strainer. While the water is hot add 3/4 cup of cane sugar and mix well making sure all of it has dissolved. After 15 minutes of steeping remove the tea strainers.
Finally, add 8 cups of cold filtered water to your large glass jar and then 2 cups of your starter tea. That's all, your mixture is ready to start it's first fermentation.
1st Fermentation
Now the waiting game starts. Cover your jar with the cloth and the elastic band. Leave it on your counter or in your cupboard at room temperature and out of direct sunlight for 7 to 10 days. After a few days you may notice a small scoby forming on the surface. Sometimes the scoby is on top, sometimes at the bottom and sometimes it's floating mid jar. You may notice a bit of sediments at the bottom of the jar or even some stringy bits forming under the scoby. These are all normal things to see. Trust the process.
2nd Fermentation

After more than one week of looking at your jar and wondering how great it will taste, it's finally time to move on to the second fermentation. The main purpose of the second fermentation is to flavour and carbonate your kombucha.
Remove the scoby and 2 cups of your mixture and keep it aside. You can use this as your starter for your 2nd batch of kombucha. If you don't plan on starting a new batch right away keep the mixture in your refrigerator until the time comes.
Open up your empty bottles (we choose swing top bottles as we find it easier to open up the bottles to allow excess gasses to escape) add your herbs and your fruits, we like raspberries, blueberries and strawberries as they are easy to insert into the bottles and taste amazing. Mint can also give it a nice summer vibe which is fun when you've got 9 months of winter!
With a small funnel pour the kombucha mixture (straining is optional) into your glass bottles overtop the herbs and fruits.
Close the bottles and leave them on the counter top away from direct sunlight for 1-3 days to allow the flavours to develop and for the drink to carbonate. Check on your bottles every day as you may require to "burp" the bottles from time to time to allow excess gases to escape and not have your bottle break. After 3 days you can move the bottles into the refrigerator to stop the fermentation and carbonation process.
Once your drinks are chilled they are ready to drink! You can keep these bad boys for 3-4 weeks in the refrigerator.
Pop open a bottle (yes, these are carbonated) you can strain the drinks but it's not necessary. You can serve these over ice with some extra mint. Enjoy.


